From Curbside to Statement Piece: A Furniture Makeover With Vinyl You Can Actually Pull Off
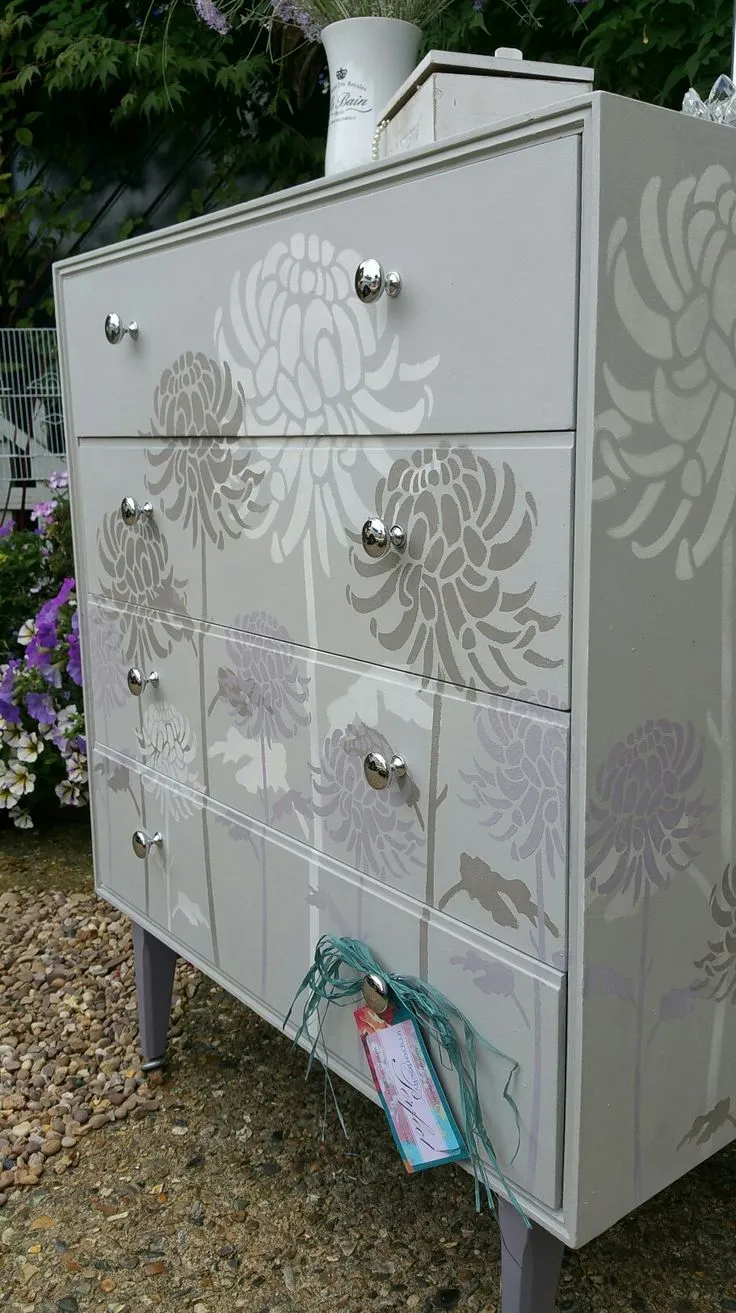
Photo: painted dresser makeover with vinyl decal craft project, via i.pinimg.com
There's a moment every crafter eventually hits: you've made the tumblers, the shirts, the car decals — and then you stare at the sad laminate dresser you grabbed off Facebook Marketplace for free and think, I wonder if vinyl would work on that.
Spoiler: it does. Spectacularly, actually. But furniture is a different animal than a water bottle, and if you skip a few key steps, your gorgeous geometric decal will peel off the first time someone bumps it with a vacuum. Let's walk through the whole process so your next thrift flip holds up to real life.
Why Vinyl Works on Furniture (When You Do It Right)
Removable adhesive vinyl is basically a low-commitment paint job. It goes on clean, comes off without ruining the piece, and lets you pull off crisp patterns — chevron, herringbone, oversized florals, hand-lettered quotes — that would take a stencil-and-brush setup hours to attempt. For renters and serial flippers, that reversibility is the whole point.
The catch? Furniture lives a harder life than a tumbler. Dresser drawers get yanked, coffee tables get feet on them, and humidity swings in a garage or basement workshop can wreck adhesion. So prep and sealing matter way more here.
Step One: Find the Right Piece
Not every thrift store rescue deserves your vinyl stash. Look for:
- Solid, smooth surfaces — flat drawer fronts, tabletops, and cabinet doors are your friends
- Laminate or sealed wood — both take vinyl beautifully with proper prep
- Minor cosmetic damage — scratches and dull finishes are fine; deep chipping, peeling veneer, and water damage are not
Hit up Goodwill, Salvation Army, estate sales, or that classic roadside dresser with a handwritten "FREE" sign. Solid wood pieces with good bones but ugly finishes are the sweet spot.
Step Two: Prep Like You Mean It
This is where most furniture vinyl projects fail, so slow down here.
- Remove hardware — pulls, knobs, hinges. Label the screws or toss them in a zip-top bag taped to the drawer.
- Clean with degreaser. Furniture polish, kitchen grease, and decades of hand oil are adhesion killers. Wipe everything down with a mix of dish soap and water, then follow with isopropyl alcohol on a lint-free cloth.
- Light sanding for glossy laminate. A quick pass with 220-grit scuffs the surface just enough — you're not sanding to bare material, just knocking the shine off. Wipe away all dust afterward.
- Let it fully dry and off-gas. Give it a few hours minimum. Fresh cleaning products and humidity under vinyl = bubbles and lifting edges later.
Step Three: Cut Big, Cut Smart
Most cutting machines handle large designs fine — you just have to be strategic.
- Divide oversized patterns into sections. A 24-inch-wide geometric front won't fit standard mats in one piece, so design it in tiles with intentional seams that follow the piece's natural lines.
- Use transfer tape in pieces, too. Wrestling a two-foot strip of sticky vinyl onto a drawer front solo is a recipe for wrinkles. Work in manageable chunks.
- Skip weeding hell. Bold, chunky designs look better on furniture anyway. Intricate scripts that sing on a tumbler get lost across a big drawer face — go oversized and graphic.
A quick design tip: measure twice, scale once. Drawer fronts are rarely perfectly square, so measure the actual inset area, not the whole drawer. Centering matters enormously at this scale, and a half-inch off is visible from across the room.
Application: The Squeegee Is Your Best Friend
Peel the backing slowly, lower the vinyl onto the surface from the center out, and squeegee firmly as you go. On large pieces, use a credit card wrapped in a soft cloth if you don't have a proper squeegee — you want even pressure without scratching.
For big geometric faces, don't be shy about pulling the vinyl back up gently and repositioning within the first minute or two. Removable vinyl gives you that grace period; permanent vinyl mostly doesn't.
Burnish the edges twice. On furniture, edges are where lifting starts, so go over every border one more time with firm pressure before moving on.
Sealing: Non-Negotiable for Daily-Use Pieces
A tumbler gets washed; a dresser gets lived on. If the piece will see daily hands, humidity, or cleaning sprays, seal it.
- Water-based polyurethane is the go-to. Brush or roll on 2–3 thin coats, letting each dry fully, and keep your strokes light to avoid drag lines in the vinyl.
- Skip oil-based sealers — they can react with adhesive vinyl and cause bubbling or discoloration over time.
- Spray sealers work for smaller accents but get expensive fast on a full dresser face.
For a coffee table or anything that takes real abuse, consider a matte sealer and accept that a touch-up coat every year or two is just part of owning a statement piece.
Before and After: What's Possible
The transformations that get the most oohs and aahs tend to follow a formula: paint or leave the base clean and neutral, then let one bold vinyl element do the talking. Think:
- A honey-oak 90s dresser with a black herringbone pattern across all six drawer fronts
- A plain pine nightstand with an oversized hand-lettered quote in matte white
- A laminate bookshelf with a color-blocked triangle design in three coordinating shades
Photograph your before shot. Seriously — future you (and if you sell pieces, your customers) will want that side-by-side.
Your Next Flip Awaits
Once you've done one piece, the thrift store looks different forever. That ugly $15 side table becomes a canvas. Start with a small nightstand before committing to a full dresser, nail your prep routine, and don't skip the sealer. Your guest room — and your craft business inventory — will thank you.