Coffee Break Crafting: Seven Vinyl Projects You Can Finish Before Your Mug's Empty
Photo: Unknown authorUnknown author, Public domain, via Wikimedia Commons
Let's be honest: most craft tutorials assume you have an afternoon, a cleared table, and zero interruptions. Meanwhile, the rest of us are squeezing creativity between school pickups, Zoom calls, and the mysterious disappearance of the good scissors.
Here's the good news—vinyl is one of the few craft mediums that genuinely works in small pockets of time. No drying, no curing, no messy setup. If you've got 15 minutes and a coffee mug that's still warm, you've got enough for a finished project. Here are seven of our favorites, plus the shortcuts that make them truly fast.
Why Vinyl Wins the Speed Game
Unlike paint, resin, or glue-based crafts, vinyl is instant gratification. Cut it, weed it, stick it—done. There's no waiting period where a toddler or a cat can undo your progress. That makes it perfect for the naptime window, the lunch break, or the 15 minutes before the school bus shows up.
The key is preparation. Speed crafting lives or dies on how organized you are before the timer starts.
Your Pre-Cut Checklist
Before any quick session, make sure these five things are within arm's reach:
- Your cutter, plugged in and ready — nothing kills momentum like hunting for the power cord
- A weeding tool and scraper — the two workhorses of every vinyl project
- Transfer tape, already cut to a few standard sizes — pre-cut strips save serious time
- Blank surfaces chosen in advance — know what you're decorating before you sit down
- A small trash cup or lint roller — for backing paper and weeding scraps
That's it. If you can grab everything in under two minutes, you're already halfway done.
Seven Projects, Fifteen Minutes Each
1. The Water Bottle Refresh
A plain stainless or plastic bottle becomes personalized in minutes with a single-color monogram or name decal. Cut at 3 inches tall, weed, apply, done. Pro tip: use permanent adhesive vinyl for anything that gets washed—removable vinyl will peel off after one trip through the dishwasher.
2. Pantry and Spice Jar Labels
Cut simple text labels in a clean sans-serif font and apply to jars, canisters, or bin fronts. These are fantastic for batching—cut a whole set at once and knock out five labels in a single session.
3. The Laptop or Phone Case Decal
Small, one-color designs are perfect here. Keep a folder of favorite simple designs (a mountain range, an initial, a tiny state outline) so you're never designing from scratch mid-break.
4. Car Window Family Stickers
Yes, you can make your own instead of ordering them. Names, paw prints, little stick figures—one sheet of outdoor-rated vinyl covers the whole crew.
5. Keychain Tags
Cut a small circle or heart, add a name or phone number, and stick it to a blank acrylic tag or even the back of a phone case. This doubles as a lost-and-found solution for kids' water bottles and lunchboxes.
6. The Dollar Store Mug Flip
Grab a $1.25 ceramic mug, apply a permanent vinyl decal, and you've got a gift-worthy piece. (Just note: hand-wash only. For dishwasher-safe mugs, you'd want HTV or epoxy—but that's a longer-weekend project.)
7. Wall Art Touch-Ups
Have a quote or shape already cut from a previous session sitting in a drawer? Applying a pre-cut decal takes five minutes flat. Keep a small stash of cut-but-unused designs ready to deploy.
Layout Shortcuts That Save Real Time
- Skip the design step during the session. Do all your designing in Cricut Design Space or Silhouette Studio on a Sunday evening, then your weekday sessions are pure cutting and applying.
- Use the same font across projects. Building a personal font library of two or three go-tos eliminates decision fatigue.
- Cut multiple projects on one mat. Nesting several designs on a single 12x12 sheet means one mat load instead of four.
- Eyeball placement with a folded sticky note. Fold a sticky note in half, stick it at the center point of your surface, and align to the crease. Faster than measuring, accurate enough for most projects.
The Art of the Batch Session
If you truly want maximum quick wins, think in batches rather than one-offs. A 45-minute window can yield:
- 10 minutes: cut three different designs on one mat
- 15 minutes: weed all three while catching up on a podcast
- 15 minutes: apply all three, one per project
- 5 minutes: cleanup (or, let's be real, cleanup tomorrow)
Batching works because the fiddly setup steps—loading mats, picking fonts, calibrating—only happen once. Everything after that is pure momentum.
One Last Thing
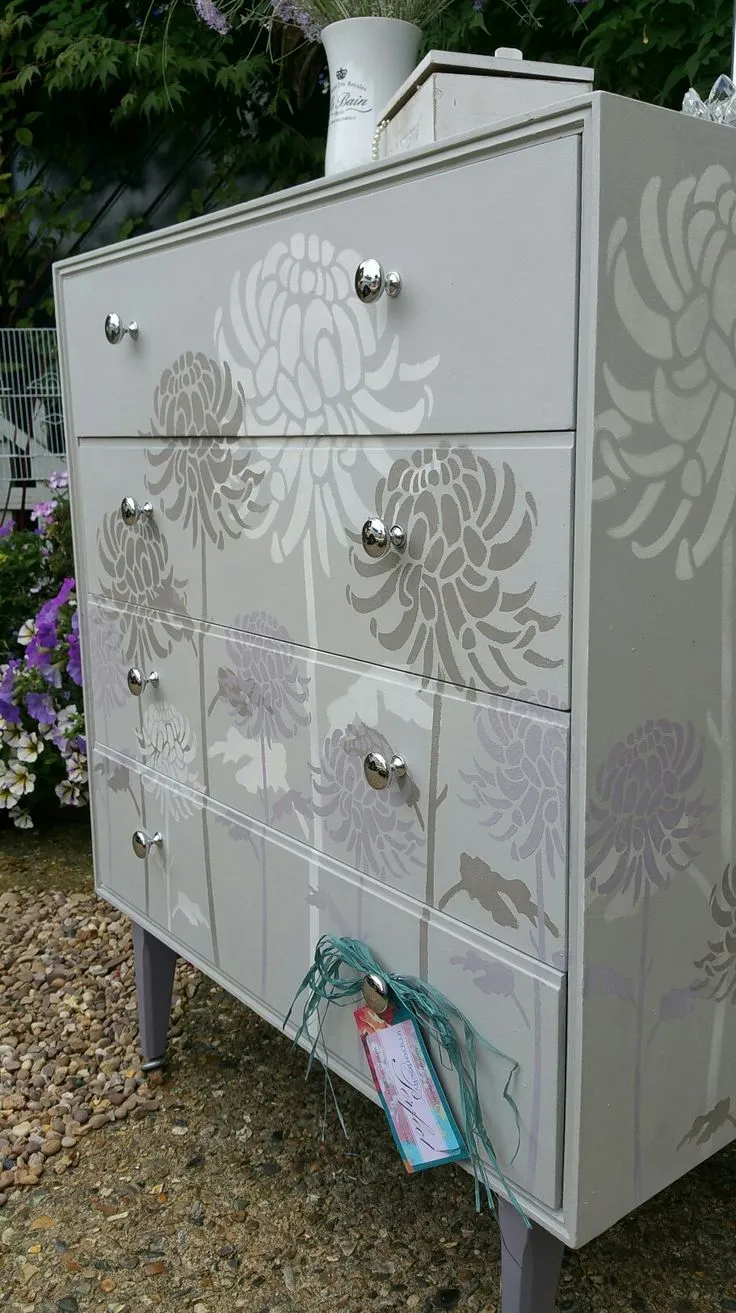
Quick projects won't replace the big, satisfying builds—the layered HTV shirts, the full furniture makeovers. But they keep your skills sharp, your space active, and your creative streak alive when life gets loud. And there's real satisfaction in a finished project that fits inside a coffee break.
So brew a fresh cup, pull out that scrap bin, and claim your fifteen minutes. Your water bottle has been asking for a glow-up anyway.
What are your favorite speed-craft wins? Drop them in the comments—we're always looking for new 15-minute ideas to test.