Weatherproof Your Ride: How to Make Car Decals That Laugh at Snow, Sun, and the Car Wash
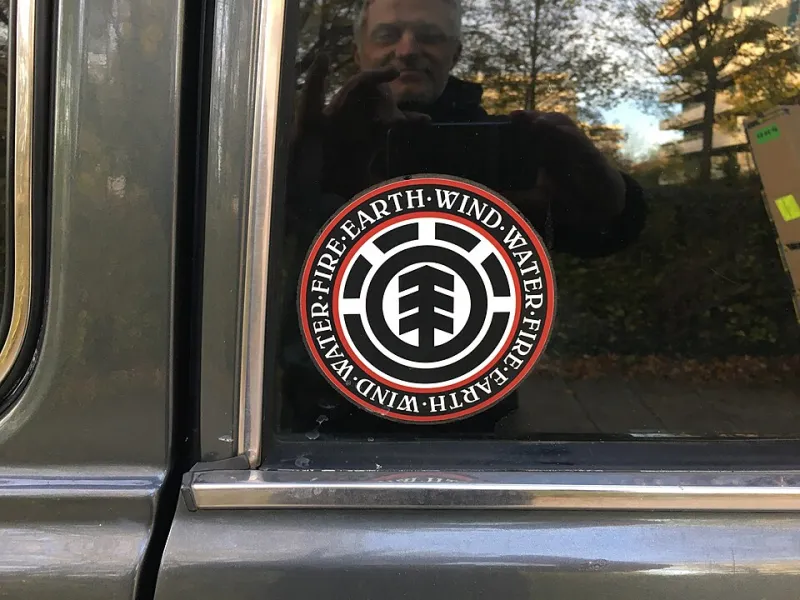
Photo: Pittigrilli, CC BY-SA 4.0, via Wikimedia Commons
Let's be honest — half of us got into vinyl because of a Cricut and a Pinterest board, and the other half because we wanted a decal on our truck that didn't look like it came from a gas station rack. Either way, car decals are the ultimate test of your craft skills. Your vehicle faces 100-degree Texas parking lots, -10 degree Minnesota mornings, and automatic car washes with spinning brushes that mean business. Here's how to make decals that survive all of it.
Not All Vinyl Is Created Equal (This Is Where Most People Mess Up)
That roll of indoor craft vinyl from the big box store? It will not survive a summer on your hood. Car decals need outdoor-rated, permanent adhesive vinyl — think Oracle 651 as the classic go-to, or cast vinyl if you want the gold standard.
Here's the quick breakdown:
- Oracle 651 (calendered vinyl): Great for windows and flat-to-slightly-curved surfaces. Holds up 5-6 years outdoors. Budget-friendly and everywhere.
- Cast vinyl (like Oracle 751 or 3M 1080): More flexible, conforms to curves beautifully, and lasts 7+ years. Worth it for body panels.
- HTV: Hard no for cars. It needs heat and pressure you can't safely apply to auto paint.
If you're selling these at craft fairs (and you should — car decals are a top seller), 651 is your workhorse. Save the cast vinyl for premium custom orders.
Placement: What Looks Good vs. What Gets You a Ticket
Before you cut anything, know the rules. Every state has laws about windshield obstructions — most prohibit anything that blocks the driver's view. A small sticker in the bottom corner of the passenger side of the windshield is usually fine; a full-width banner across the top is asking for trouble.
Safe zones that always work:
- Rear window (bottom corners are prime real estate)
- Back glass or tailgate — the classic spot for family names and stick figures
- Side windows, lower third
- Quarter panels and truck beds for the bold
Pro tip: if a decal goes on a window, cut it in mirror image so the adhesive side faces outward when applied from inside. Ask me how I know. Actually, don't — just trust me.
The Application: Curves Are the Real Challenge
Applying to glass is easy. Applying to a fender with a compound curve is where beginners panic. Here's the process that works:
- Clean like a surgeon. Isopropyl alcohol and a microfiber cloth. No Windex with additives — the residue kills adhesion. Do this even on a brand-new-looking surface.
- Warm the surface. A hairdryer or a sunny afternoon gets the panel to at least 70°F. Cold vinyl and cold metal are a terrible combo.
- Work in sections. Squeegee from the center outward, working the transfer tape back gradually. Don't peel the whole thing off at once and hope for the best.
- Use the vinyl's stretch. On curves, gently heat the vinyl and it'll relax and conform. Small relief cuts on the edge of the backing paper help too.
- Post-heat everything. Once applied, hit it with the hairdryer again and press down the edges. This sets the adhesive and prevents lifting.
Will It Survive the Car Wash?
Short answer: yes, if you did it right. Touchless car washes are a total non-issue. Brush washes are fine for well-applied 651 — the adhesive is rated for far worse. What actually kills decals is pressure washing directly at the edges and ice scrapers on windows. Avoid those two things and you're golden.
One caveat for the sellers out there: tell your customers to wait 48-72 hours before washing after application. The adhesive needs time to fully cure, especially in cooler weather.
Removal Without Ruining Your Paint (or Your Tint)
Eventually, everyone wants the stick family gone. The good news: quality vinyl removes cleanly when you do it right.
- Warm it up first. Hairdryer on medium, or a warm day. Cold vinyl tears and leaves a mess.
- Peel slowly at a low angle, pulling back on itself rather than straight up.
- Stubborn adhesive residue? A little rubbing alcohol or Goo Gone on a microfiber cloth handles it. On painted surfaces only — skip the solvents on window tint, which sits on the inside of the glass anyway.
- Never use a razor blade on tinted windows. That's how you end up explaining a scratch to your spouse.
If a decal has baked in the sun for five years and fights you the whole way, more heat. Patience beats force every time.
Your Weekend Project Awaits
Pick a design, cut it in 651, weed it (check out our weeding survival guide if your design is intricate), and give your ride a glow-up that costs you about $3 in material. Whether it's a subtle monogram on the back glass or a full tailgate statement, a well-made vinyl decal outlasts the trend it started from — and unlike the gas station version, this one's actually yours.