The Weeding Survival Guide: How to Rescue Intricate Vinyl Designs Without Losing Your Mind
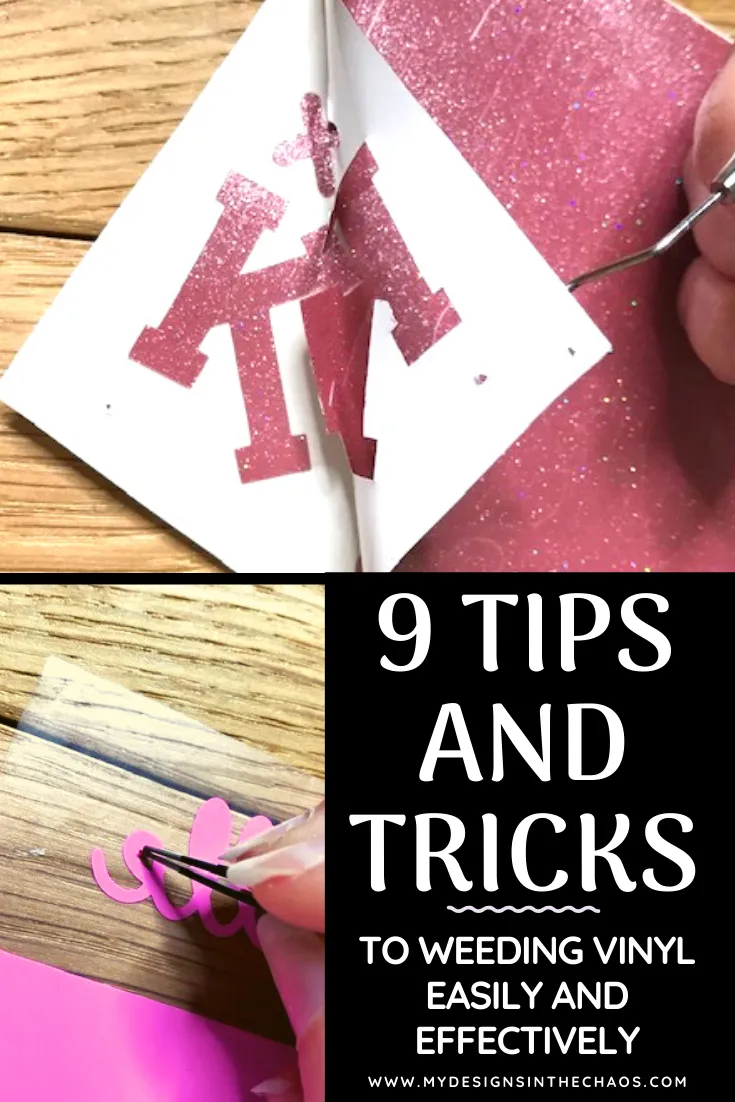
Photo: weeding vinyl craft project with weeding tool and cut vinyl letters on desk, via i.pinimg.com
Raise your hand if you've ever spent twenty minutes cutting a gorgeous mandala design, only to rip the tail clean off the letter 'g' during weeding. Yeah. Us too.
Weeding — peeling away the excess vinyl to reveal your design — is the least glamorous step in any project, and it's the one that decides whether your finished piece looks professional or, well, chewed. The good news? Almost every weeding disaster traces back to a fixable mistake. Let's dig in.
First, Know What You're Dealing With
Adhesive vinyl and heat-transfer vinyl (HTV) weed very differently, and mixing up your approach is the root of a lot of frustration.
Adhesive vinyl (the stuff for tumblers, car decals, and signage) sits on a paper backing. You weed through the top layer, and the backing acts as your work surface. The challenge here is the cut itself — if your blade is dull or your settings are off, the vinyl stretches and tears instead of separating cleanly.
HTV has a clear plastic carrier sheet on top. You weed from the back, peeling the plastic away to reveal your design. The carrier sheet actually holds everything in place, which is why intricate HTV designs are often more forgiving — as long as you've cut all the way through the vinyl but not the carrier.
If you've been weeding HTV from the front like adhesive vinyl, stop. That's the ghosting and mangled-letter culprit right there.
Trick #1: Fix Your Cut Before You Blame Your Weeding
Nine times out of ten, a weeding problem is actually a cutting problem. Run a quick test cut on a corner of your material before committing the full design. If the vinyl doesn't separate easily from the backing with light pressure, adjust your blade depth or pressure setting rather than muscling through it later.
For adhesive vinyl, a slightly shallow cut is better than too deep — you want the vinyl sliced, not scored into the backing. For HTV, do a test weed and check that the cuts go fully through the vinyl layer.
Trick #2: The Box Trick
This one's a classic for a reason. After your design finishes cutting, don't weed it right away. Instead, cut a rectangle or box around the whole design, then peel the outer frame off slowly. As the excess pulls away, it lifts most of the negative space with it — all those tiny insides of letters and gaps in detailed designs come off in one piece. Suddenly a ten-minute weeding job takes ninety seconds.
Trick #3: Light It Up
If you've ever squinted at matte white vinyl trying to find a cut line, you know lighting matters. A bright LED desk lamp angled low across the surface rakes light across the vinyl, making every cut line cast a tiny shadow and pop into view. Crafters have also had great luck with light pads — the kind used for tracing — placed under translucent HTV carrier sheets. The cuts glow. It feels like cheating. We don't care.
Trick #4: Ditch the Straight Pin, Get Real Tools
Look, plenty of us started with a sewing pin and a pair of kitchen tweezers. But a few inexpensive tools genuinely change the game:
- A weeding pen or hook — the fine, angled tip gets under tiny pieces without gouging the design
- Reverse-action tweezers — they grip when you squeeze, so shaky hands don't crush delicate letters
- A weeding scraper or squeegee — burnishing the vinyl before you weed re-adheres anything that's lifted and makes cut lines clearer
- Powdered gloves — finger oils and adhesive vinyl don't mix; smudges show on finished decals
You can build a full kit for under twenty bucks, which is cheaper than the vinyl you'll ruin without it.
Trick #5: Work Backwards on Intricate Designs
Counterintuitive but effective: on super detailed designs, weed the larger negative spaces first, then move to the fine interior pieces. The big pulls relieve tension across the vinyl, so the small pieces don't shift or stretch while you work on them. Think of it like weeding an actual garden — clear the big stuff first so you can see what you're doing up close.
Trick #6: Warm It Up (Gently)
Cold vinyl is brittle vinyl. If your craft room runs chilly — hello, Minnesota in January — let your cut vinyl sit at room temperature for a bit, or hit the back of adhesive vinyl briefly with a hair dryer on low. Slightly warm vinyl flexes instead of snapping. Just don't overheat HTV, or the adhesive activates and gums up your carrier sheet.
Trick #7: Learn From the Fails
We asked around the Expressions Vinyl community, and the confessions were both heartbreaking and hilarious: a wedding decal missing the dot on the 'i' (caught it at the reception, thankfully), an entire sheet of 24 monogrammed tumblers weeded with a stretched-out 'M' on every single one, and a mandala that became a mangled doily.
The common thread in every before/after recovery story? The fix was almost always one of the tricks above — better lighting, a fresh blade, or the box trick — not more patience or a steadier hand. Weeding shouldn't require surgical precision. It should be the satisfying part, the moment where your design actually appears.
The Bottom Line
Mangled vinyl isn't a skill problem — it's a setup problem. Nail your cut settings, light your workspace properly, grab a real weeding tool, and let the box trick do the heavy lifting on detailed designs. Your tweezers can come out of the wall. Your sanity stays put.
Got a weeding fail with a happy ending? Drop it in the comments — we feature reader rescues every month.